What to Pack for the Philippines: Ultimate Guide
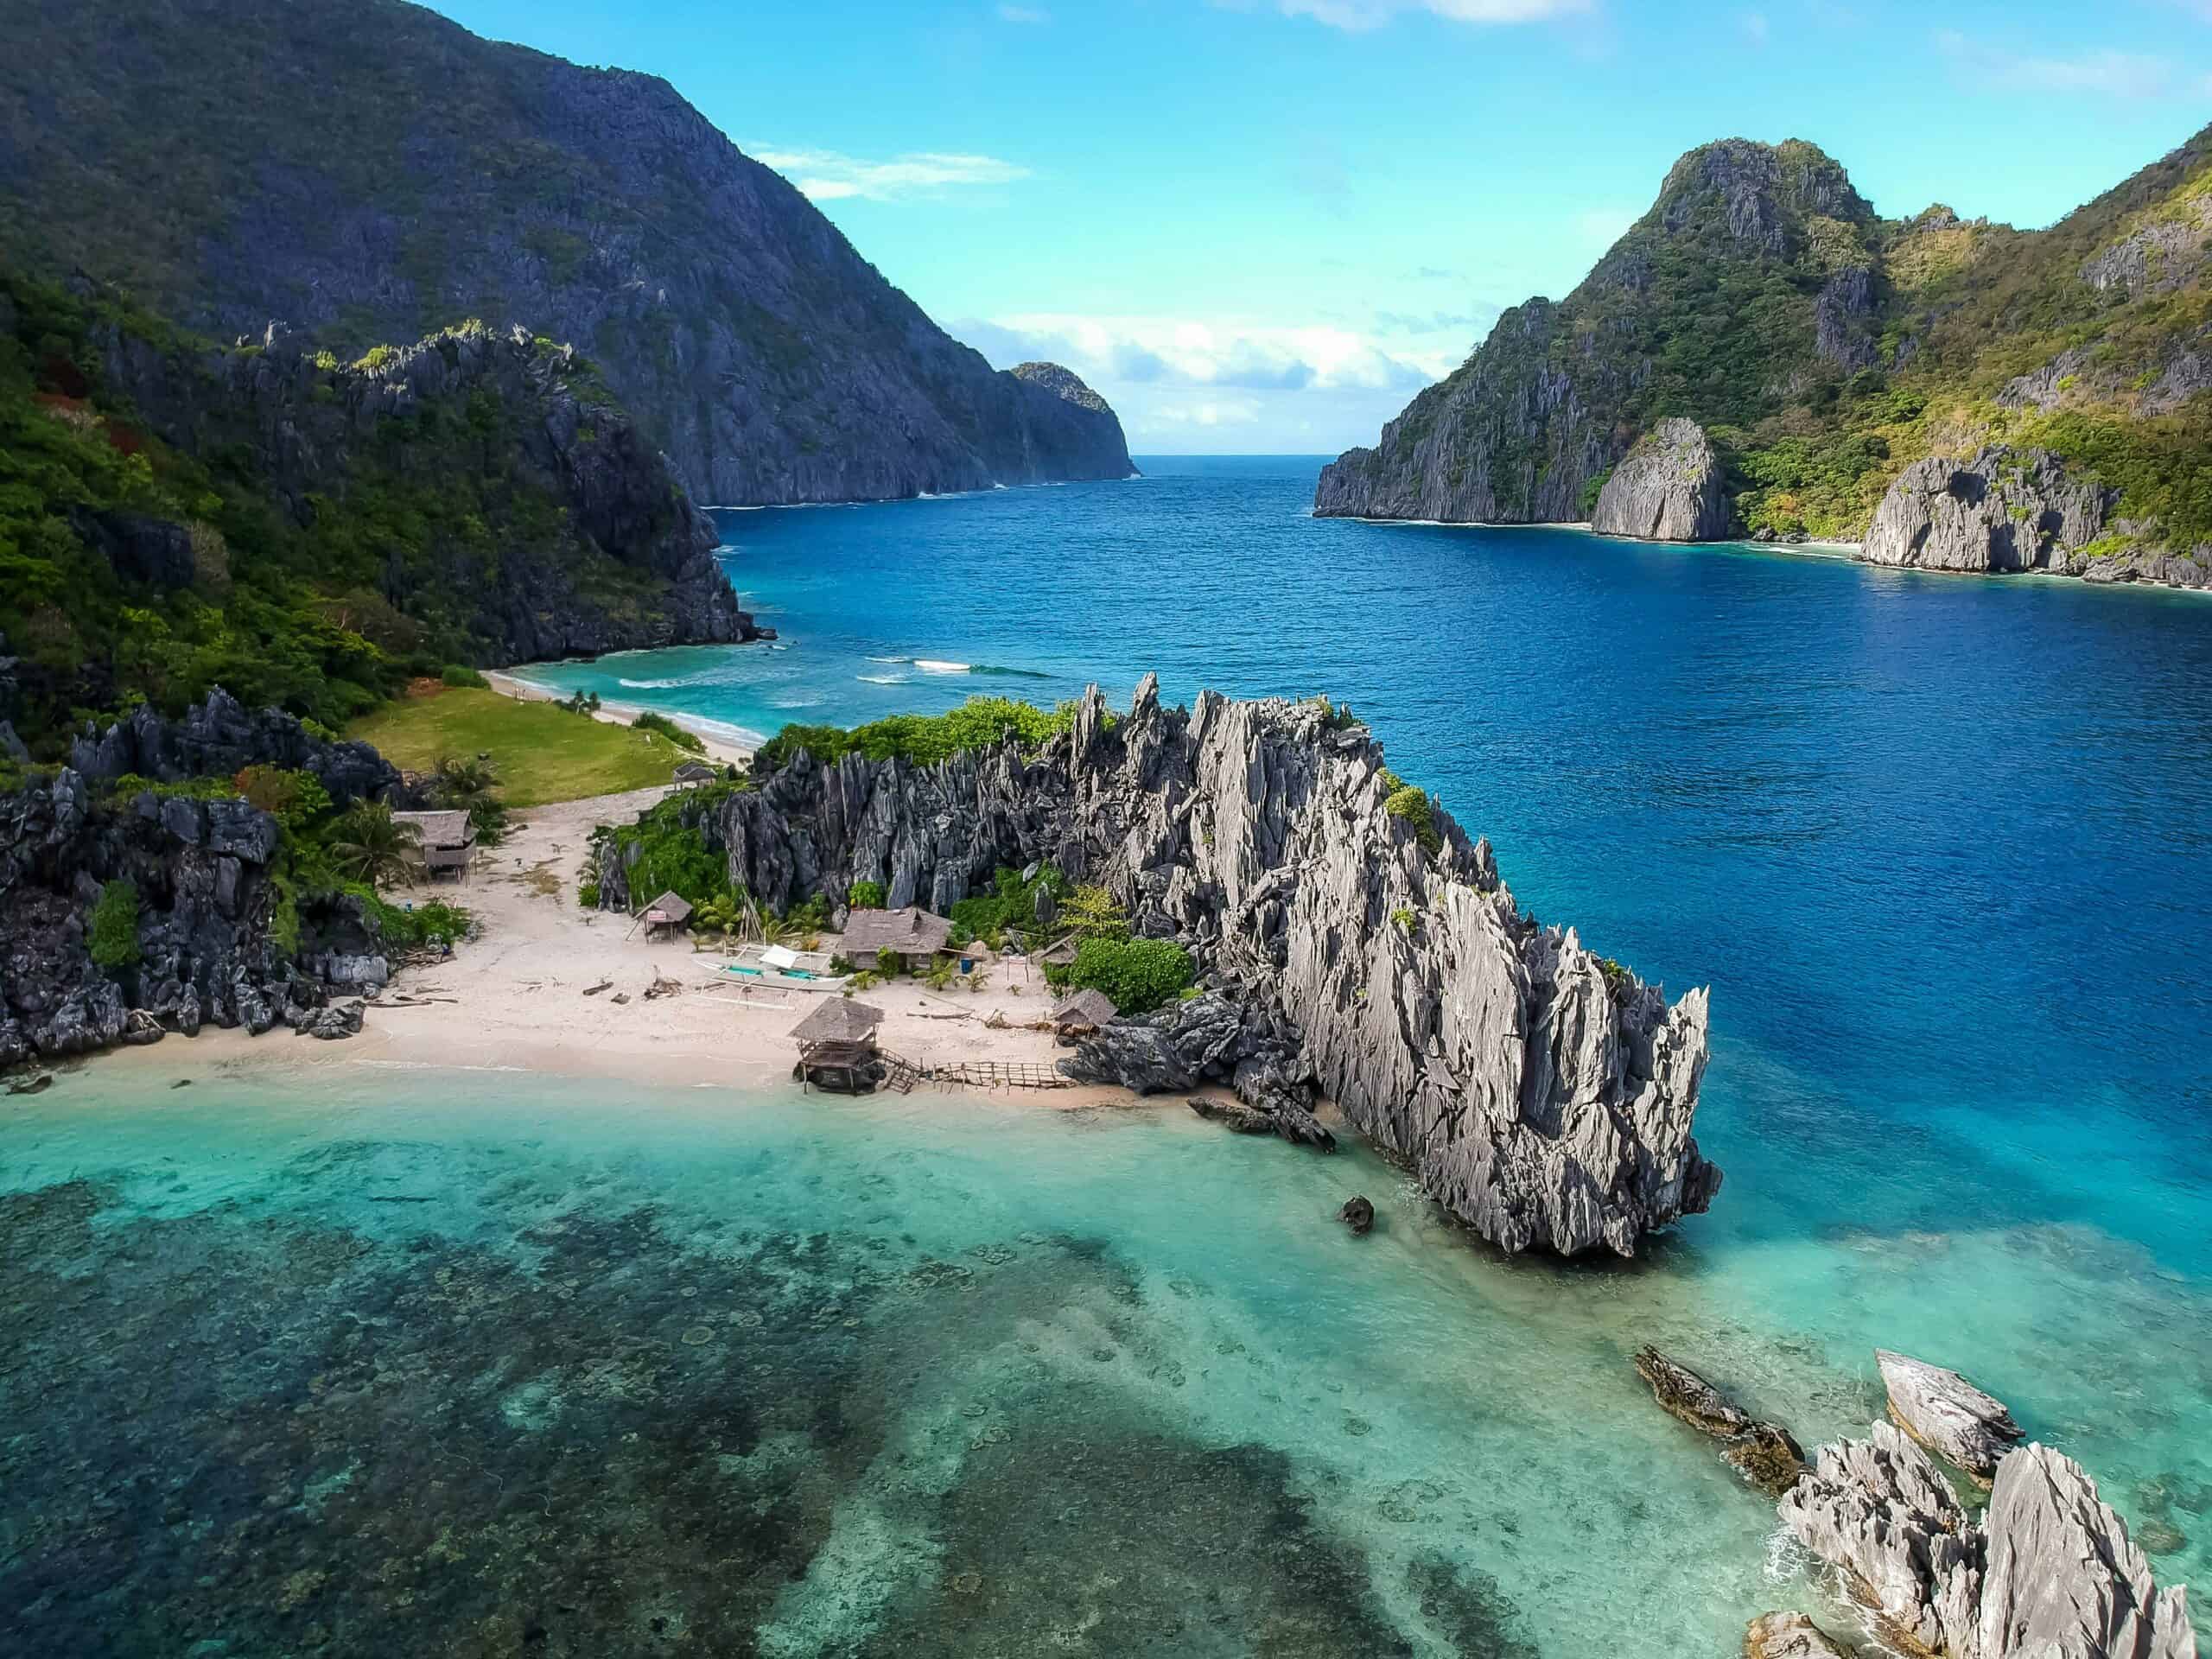

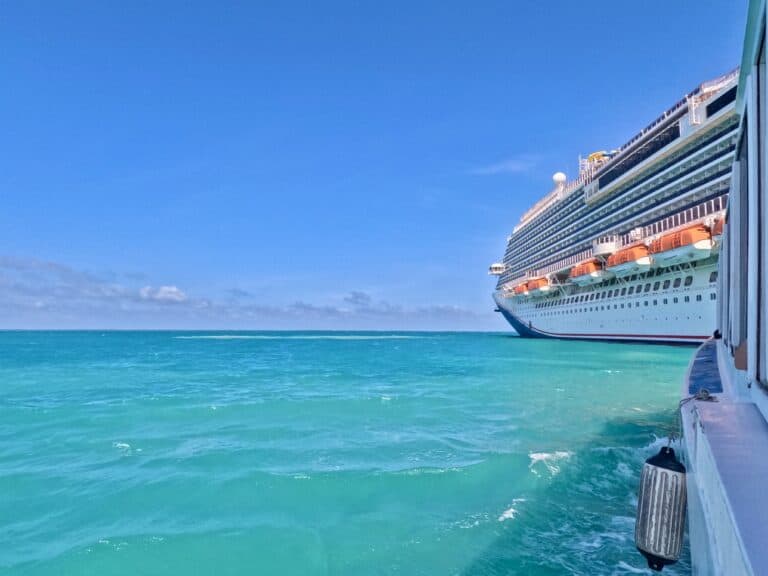
Packing for the Philippines sounds easy… until you realize the country has 7,000+ islands, changing seasons, domestic flights, boat rides, and a lot of time in the water.
I grew up in the Philippines and still return regularly, and one thing I’ve learned is this: packing smart matters more than packing a lot.
This guide breaks down exactly what you should pack month by month, plus what you’ll need year-round — without overpacking, stressing, or hauling things you’ll never use.
Short on time?
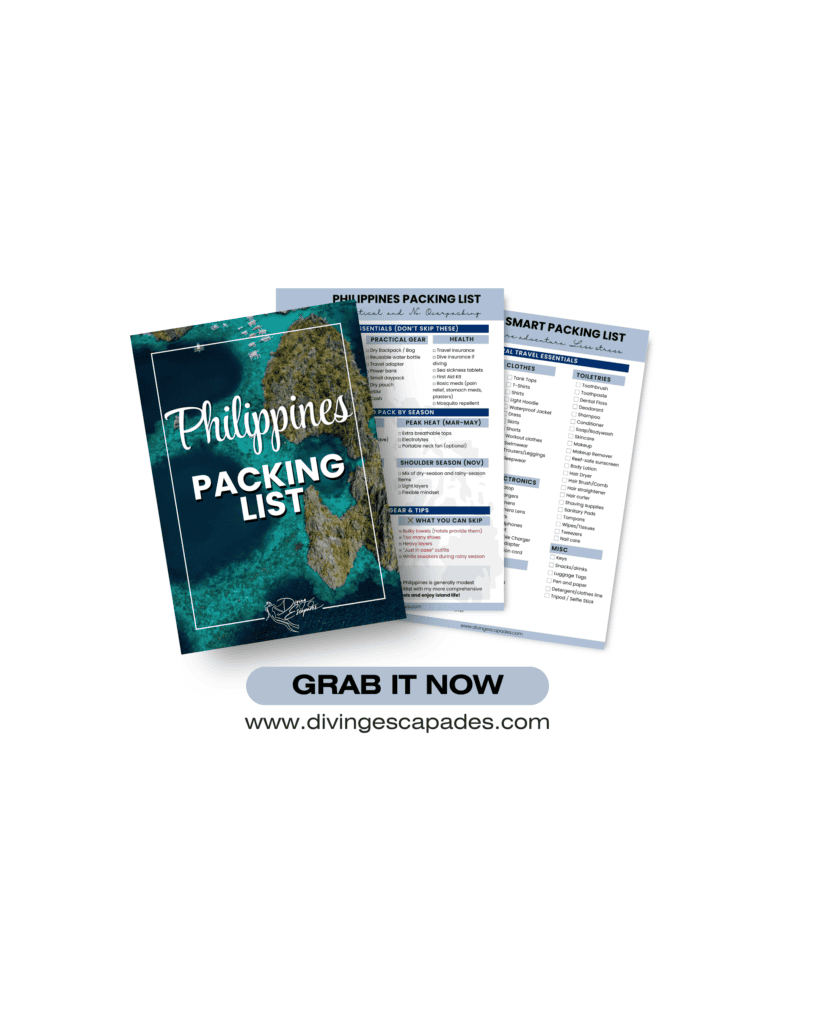
Download my free Philippines Packing Checklist and tick things off as you pack — no overthinking, no fluff.
Why a Special Packing List for the Philippines?
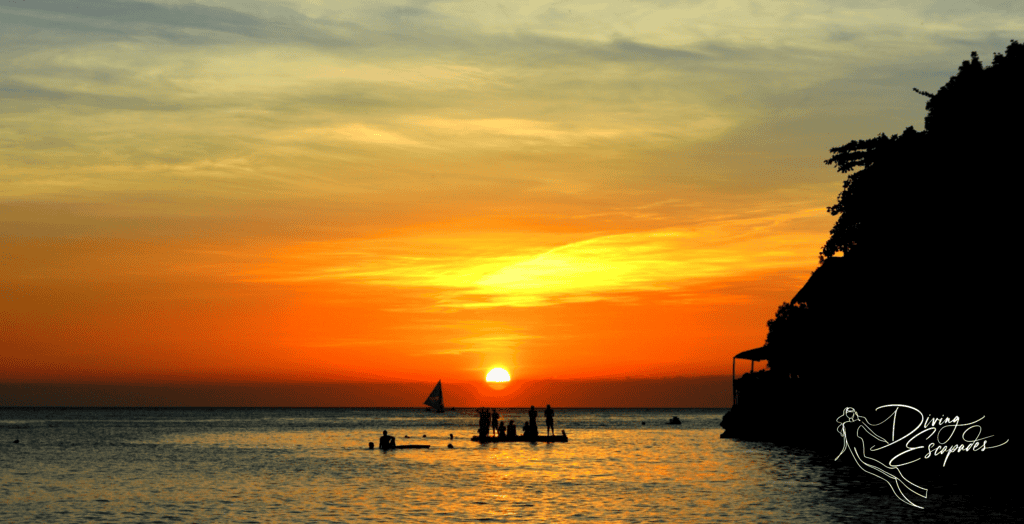
The Philippines is tropical, humid, and full of island adventures — which means different needs than a city trip or Europe backpacker packing list.
You’ll be:
- sweating under a hot sun
- hopping on boats
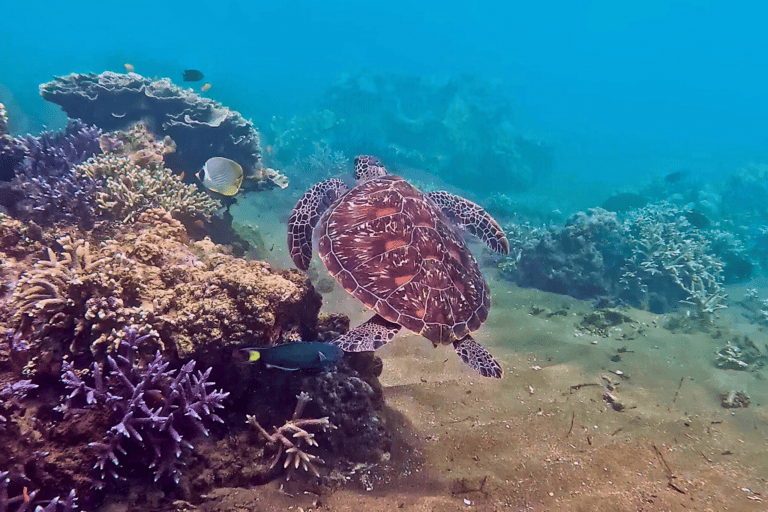
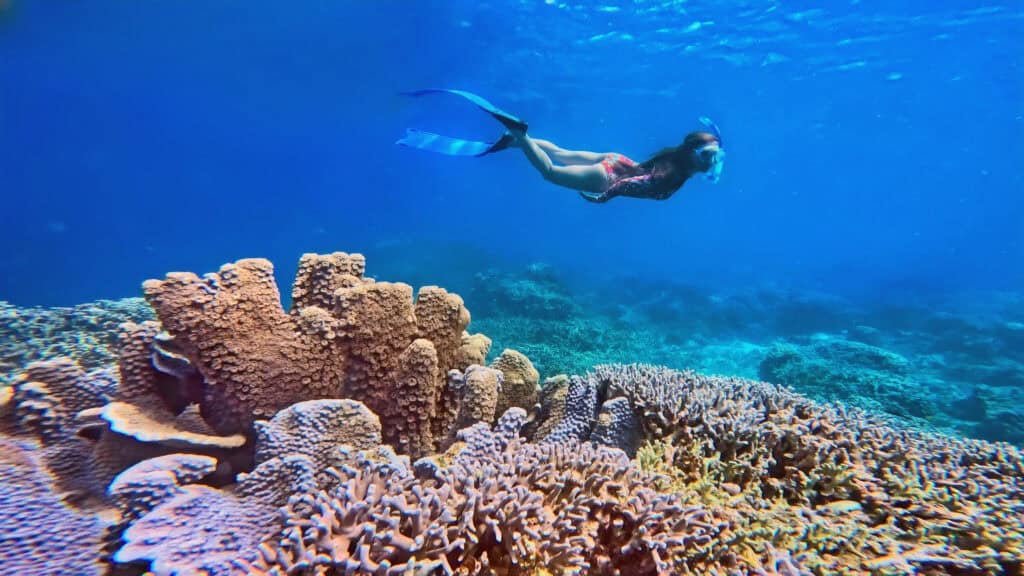
- diving or snorkeling
- navigating quick rain showers
- exploring towns and markets
That means light clothes, waterproof gear, sun protection, and smart travel tech are key — more so than shiny outfits you’ll never wear.
All-Year Packing Essentials (What You’ll Use No Matter When You Go)
These are the non-negotiables — items that earn their place in your bag on every Philippines trip, regardless of the month.
Clothing & Basics
- Light, breathable clothes — ideal for heat and humidity (quick-dry is a bonus, and yes, you’ll rewear more than you think)
- Swimwear — bring at least two; one is never enough
- Comfortable walking shoes — for town days, markets, and short hikes
- Flip-flops or water sandals — beach, ferry, waterfall… repeat

Sun & Water Protection
- Reef-safe sunscreen — protects your skin and the coral reefs you’re there to enjoy

- Wide-brimmed hat and sunglasses — shade isn’t always guaranteed
Practical Gear
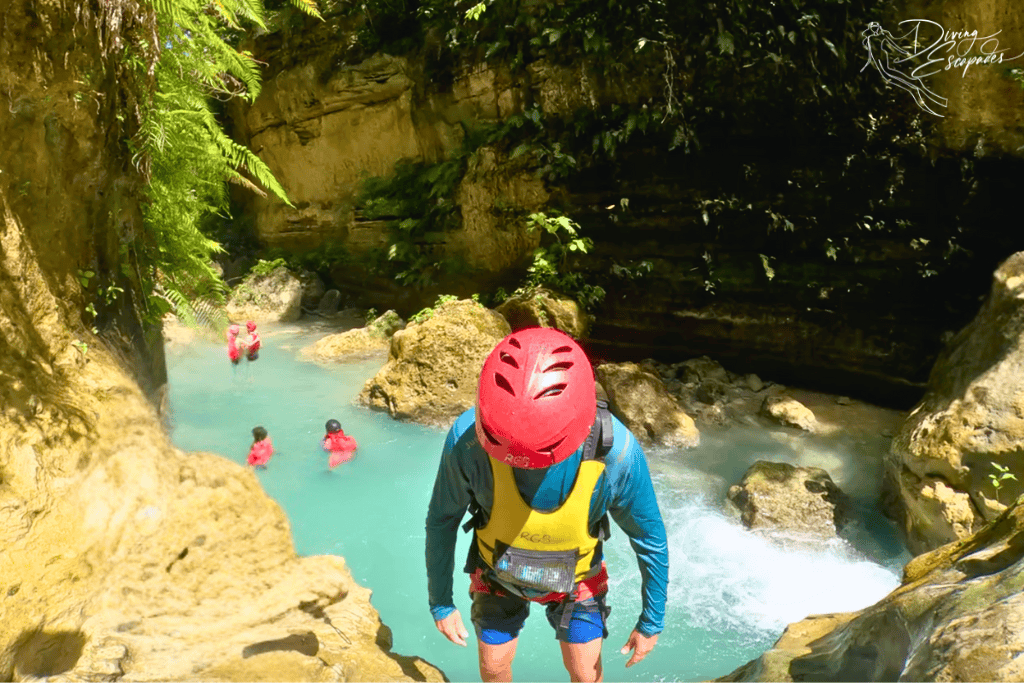
- Dry backpack — a huge win for boat rides and island hopping; keeps everything safe from spray and sudden rain

- Reusable water bottle — hydration is not optional in the tropics
- Travel adapter and power bank — outlets vary, and your phone battery won’t survive all the photos and videos
- Small daypack — useful for tours, beach days, and carry-on use
- Mosquito repellent — you’ll likely encounter mosquitoes at some point, especially near water or at sunrise and sunset
- Cash — essential for islands and small tours, as ATMs aren’t always available
Health, Safety & Insurance
- Travel insurance (I personally recommend SafetyWing) — for peace of mind with flights, illness, and delays

- Dive insurance (DAN – Divers Alert Network) — non-negotiable if you’re scuba diving
- Sea sickness tablets (like Dramamine) — boat rides can be unpredictable, even on calm days
Pro tip: You can buy basics like bug spray, sunscreen, and water shoes locally, but quality options — especially reef-safe products — are much easier to pack ahead of time.
Camera & Travel Gear I Actually Use (And Why)
If you’re coming to the Philippines, chances are you’ll want to capture more than just photos from your phone.
Between island hopping, snorkeling, diving, and sunsets that don’t need a filter, having the right gear makes a big difference.
Here’s what I personally use and pack on my trips:
👉 GoPro
This is my go-to for anything involving water — snorkeling, diving, waterfalls, boat days, you name it. It’s compact, tough, and easy to grab when something unexpected swims by (which happens a lot here).

👉 GoPro Dome
I love using a dome for split-level shots — half above water, half below. The Philippines is perfect for this, especially in calm lagoons and shallow reefs. It’s one of those extras that looks fancy but is actually very easy to use.

👉 DiveVolk Smartphone Housing
I use this so I can use my phone underwater for photos and videos. It gives me full access to my phone screen and camera apps underwater, which is great for framing shots and quick clips.

👉 Monopod (selfie stick + tripod in one)
This is one of my favorite travel hacks. I use it as a selfie stick on boats, a stabilizer while snorkeling, and a mini tripod for sunsets or group shots. One piece of gear, multiple uses — exactly what you want when packing light.

If you enjoy documenting your trips — or just want better memories than blurry phone shots — these gears are all worth considering and easy to travel with.
A Quick Word on Seasons (Very Short, I Promise)
- Dry season: December to May
- Hottest months: March to May
- Rainy season: June to October
- Shoulder months: November
Now let’s get into the good stuff.
What to Pack by Month in the Philippines
Here’s what to pack month by month, based on real conditions you’ll experience.
January – Dry Season & Easy Travel
January is one of the easiest months to travel.
Pack:
- Light summer clothes
- Swimwear
- 3mm wetsuit if you’re diving (some spots feel cooler)
- Light jacket or hoodie for evenings
- Snorkel mask if you love being in the water
- Dry bag
Skip:
- Heavy layers
- Anything bulky “just in case”
If you’re planning a trip around this time, I break it all down in detail in my guide Philippines in January: Ultimate Guide With Local Insights and Practical Tips.
February – Similar to January, Slightly Warmer
Think January, but a little warmer and a little busier.
Pack:
- Same as January
- Hat and sunglasses you’ll actually wear
- Reef shoes for rocky beaches
March – Warmer Days Start Kicking In

You’ll feel the heat more now.
Pack:
- Extra breathable tops
- Lightweight shorts or dresses
- Electrolytes (you’ll sweat more than you expect)
- Strong sunscreen
Skip:
- Tight fabrics
- Jeans (you won’t wear them, I promise)
April – Peak Heat (No Sugarcoating It)
April is hot-hot.
Pack:
- Loose, airy clothes
- Hat, sunglasses, sunscreen (yes, again)
- Electrolytes
- Cooling towel or cooling neck fan if you’re sensitive to heat
Skip:
- Heavy makeup
- Anything that traps heat
May – Hot with a Hint of Change
Still hot, with occasional humidity spikes.
Pack:
- Same as April
- Light rain layer (just in case)
- Sandals that dry quickly
June – Rainy Season Begins
Rain starts making appearances, but it’s not constant.
Pack:
- Quick-dry clothes
- Compact rain jacket
- Waterproof sandals
- Dry bag (extra useful now)
Skip:
- White sneakers (they won’t survive)
July – August – Rainy Season & Boat Ride Essentials
This is when sea sickness tablets matter.
Pack:
- Quick-dry clothes
- Compact umbrella or rain jacket
- Sea sickness tablets (like Dramamine) — even if you “never get sick”
- Waterproof phone pouch
Trust me: it’s much better to have Dramamine and not need it than the other way around… especially on ferries.
September – Still Rainy, Fewer Crowds
Pack:
- Same as July/August
- Extra socks
- Lightweight layers
Bonus: fewer tourists, greener landscapes.
Don’t forget:
You can download the free Philippines Packing Checklist to make packing easier — especially if you’re juggling island transfers, dive gear, and carry-on limits.
October – Transition Month
Weather can be unpredictable, but travel is still doable.
Pack:
- Mix of dry-season and rainy-season items
- Light jacket
- Flexible attitude (always helpful)
November – Shoulder Season Sweet Spot
Things start drying up again.
Pack:
- Light summer clothes
- Swimwear
- Snorkel mask
- Dry bag
December – Dry Season & Holiday Vibes
Festive, busy, and beautiful.
Pack:
- Same as January
- One nicer outfit for holiday dinners
- Patience for crowds (worth it)
If You’re Diving in the Philippines

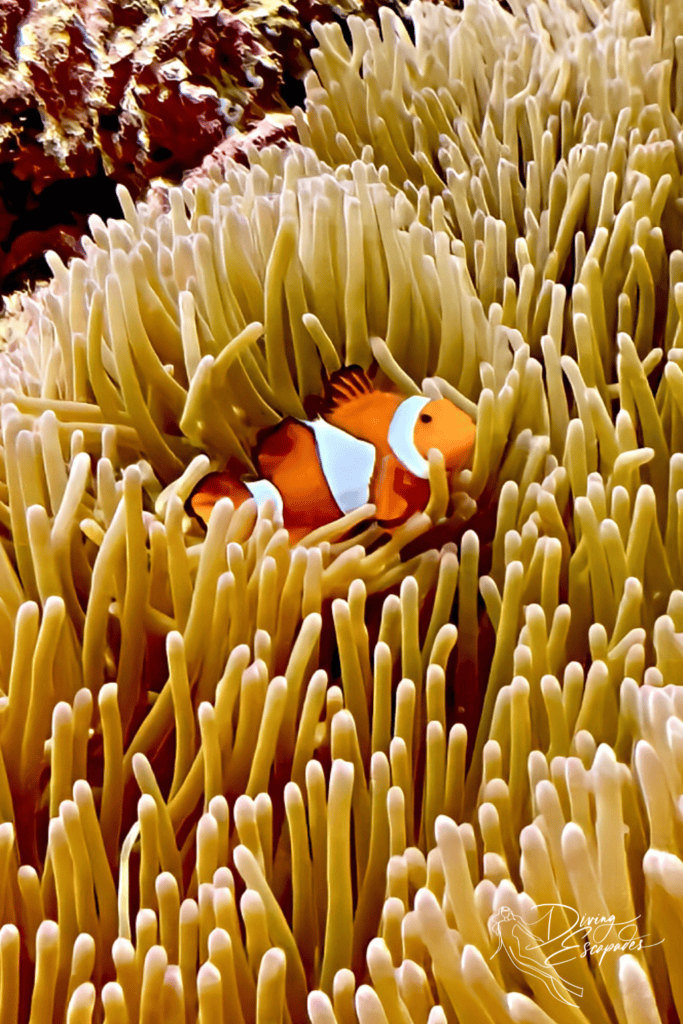
A few extras if diving is part of your plan:
- 3mm wetsuit (great year-round, especially Jan–Feb)
- Reef-safe sunscreen
- SMB (if you use one)
- Logbook or dive app
- DAN dive insurance
Most dive centers provide tanks, weights, and BCDs — check before you pack your entire gear closet.
Common Packing Mistakes
- Packing too many shoes
- Bringing bulky towels (everywhere has them)
- Forgetting sea sickness tablets
- Overpacking “nice outfits” you’ll never wear
- Not leaving space for souvenirs (you’ll want them)
The Wrap-Up: What to pack for the Philippines
You don’t need to pack your whole house to enjoy the Philippines. Pack light, pack smart, and focus on things that help you stay comfortable — especially in the heat and on the water.
Once you’ve got the basics covered, the rest is easy: beaches, boat rides, sunsets, and probably more mangoes than you planned to eat. Safe travels!